How To Deploy MSIX Applications Using Microsoft Intune
Table of Contents
In this blog post, I will walk you through the process of deploying MSIX applications using Intune. MSIX, a modern packaging format designed by Microsoft, streamlines app installation and management on Windows devices while ensuring that applications remain up to date effortlessly.
MSIX provides numerous benefits, including a high installation success rate, optimized network performance by downloading only the required 64k blocks, and efficient disk space usage through the elimination of duplicate files across multiple applications.
Similar to deploying MSI-based applications with Intune, you can also deploy MSIX-based applications. In this tutorial, I’ll walk you through the process using the line-of-business app deployment method. Before getting started, ensure you have the application available in MSIX format. Keep in mind that not all vendors currently offer MSIX installers, as many still rely on traditional MSI and EXE package formats.
For this demonstration, I’ll use Slack as an example application, as it is available in .MSIX format. Now, let’s dive into the steps:
Download MSIX based application
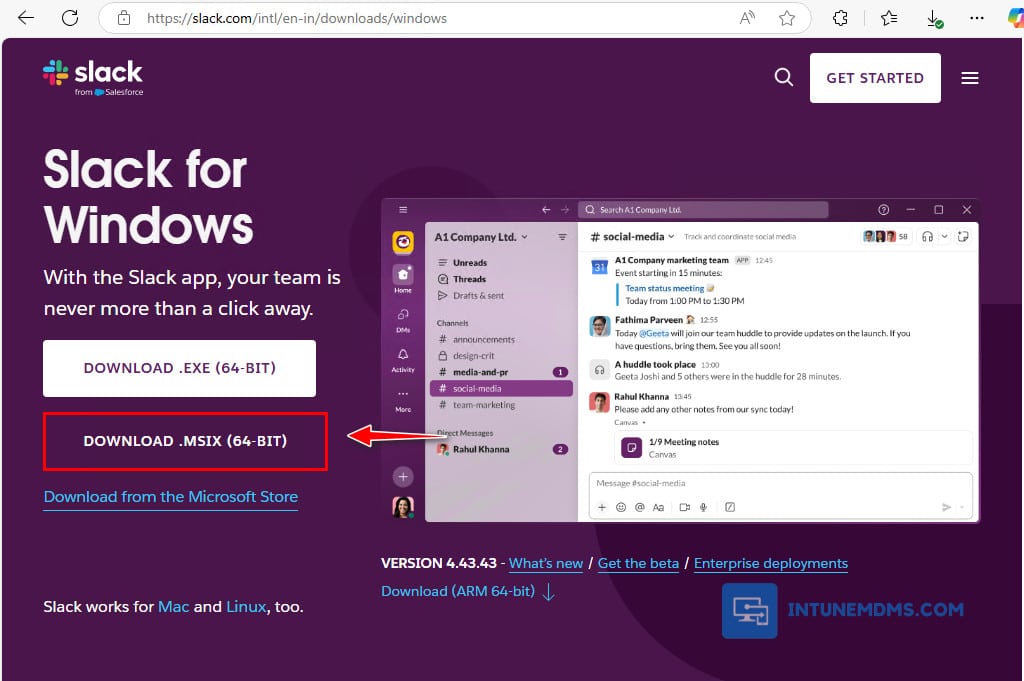
To begin, download an MSIX application installer for deployment via Intune. In this example, we’ll use Slack. Visit Slack’s download page and select the Download .MSIX (64-bit) button to initiate the download.
Create MSIX Intune Deployment
After the .MSIX file is downloaded. Follow below steps to create an Intune deployment.
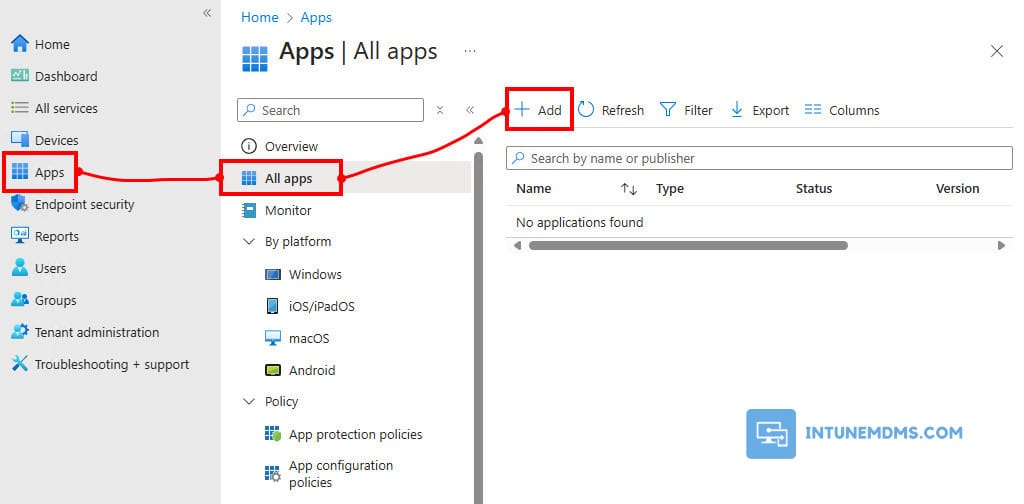
1. Sign in to the Intune admin center > Apps > All Apps > Add.
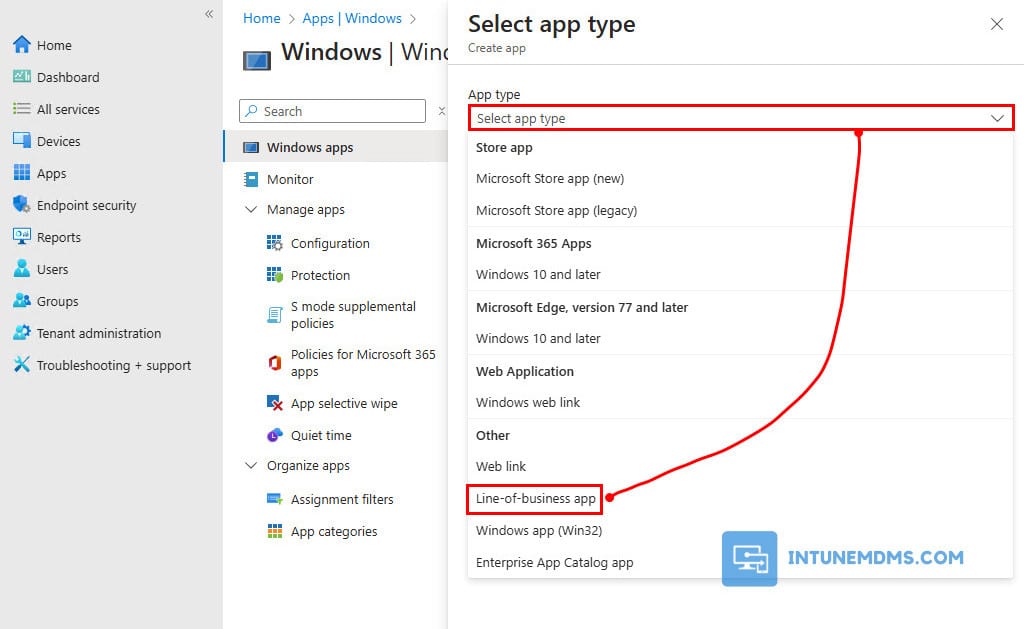
2. Using the App type drop-down, Select the Line-of-business app option. Intune supports the following line-of-business app platforms and extensions:
Android (APK)
iOS (IPA)
macOS (.pkg)
Windows (.msi, .appx, .appxbundle, .msix, and .msixbundle)
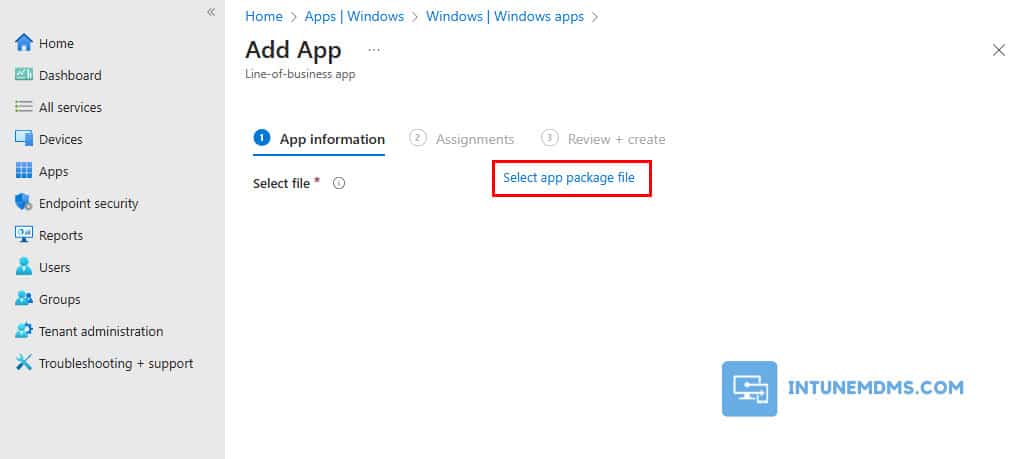
3. In the App information, click on Select app package file link.
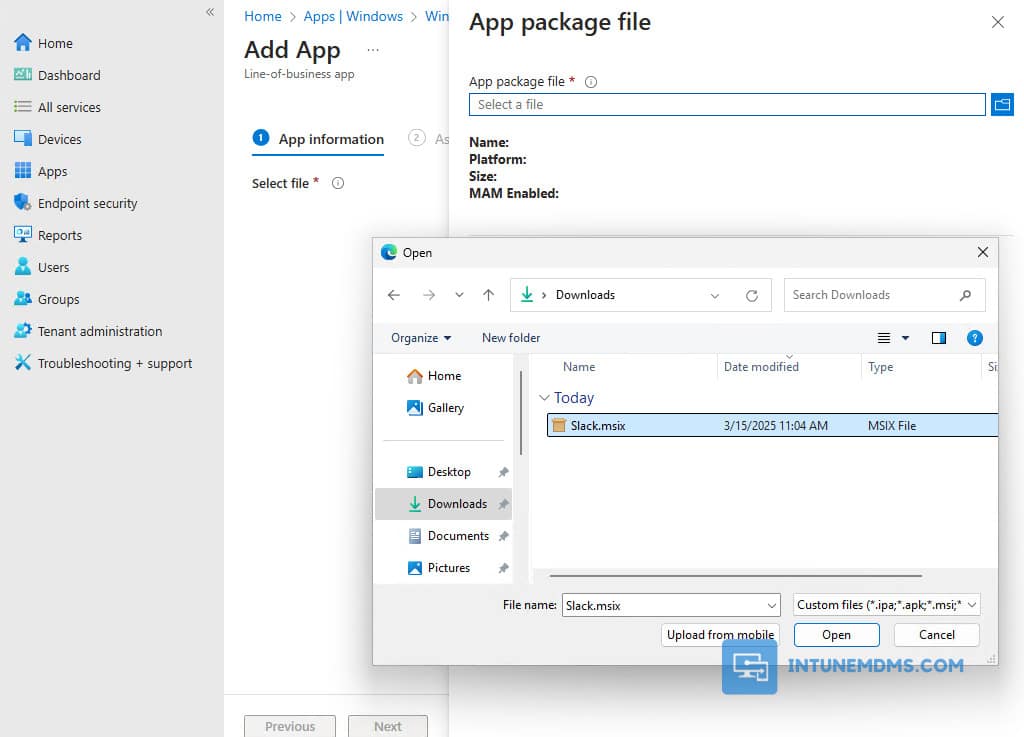
4. In the app package file pane, click on the Browse button. Then, select the .msix file that you’ve downloaed in the previous steps.
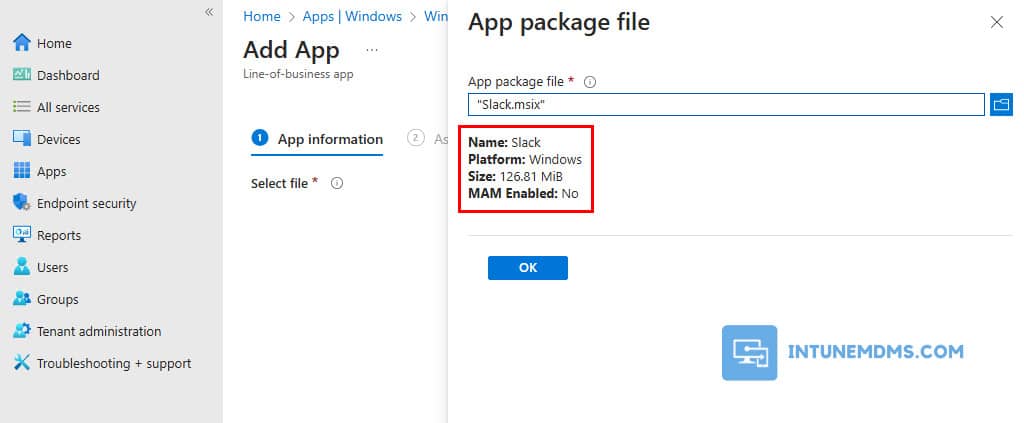
5. After uploading the file, you will see some information including the name of the app, the version, and other useful information. Go ahead and click OK to continue.
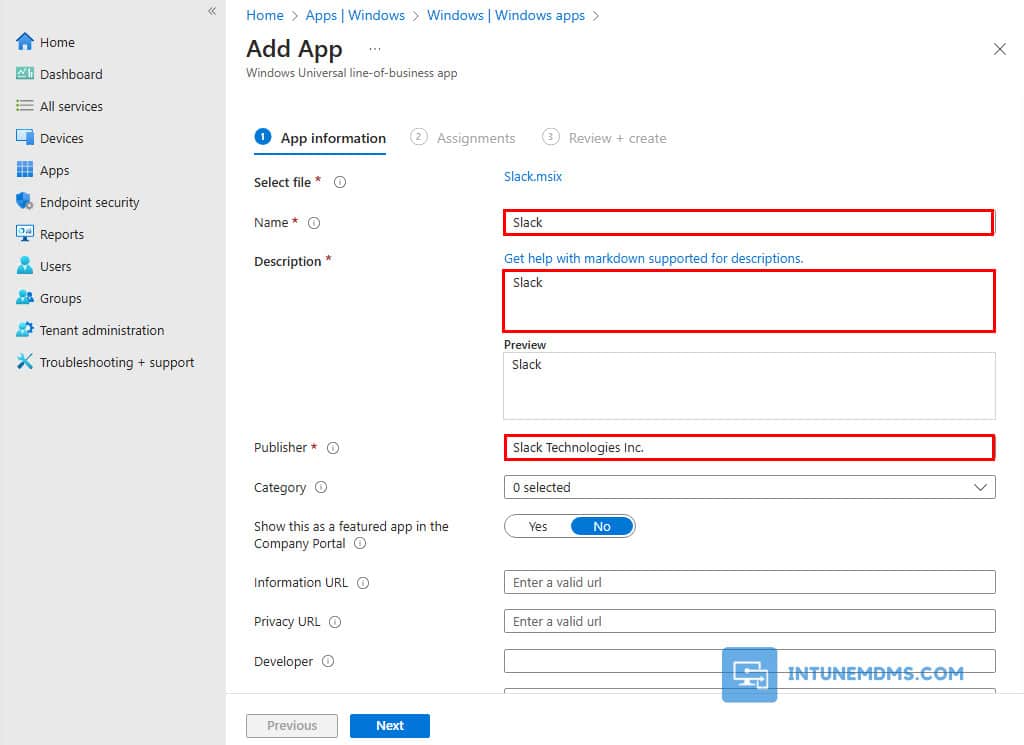
6. Name, Desciption and Publisher information will be automatically populated for you. You can modify it as per your requirements or leave it as is and click Next.
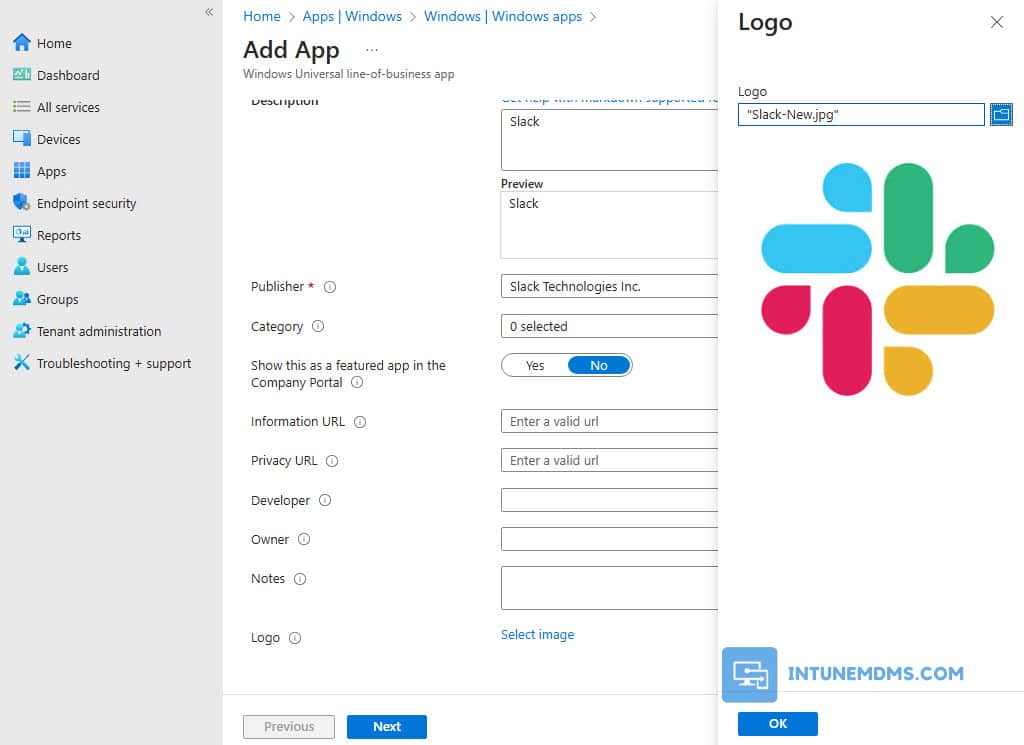
7. The last optional option is to specify the application logo. This icon is displayed with the app when users browse through the company portal. We recommend specifying the logo here because it makes easy for users to identify the applications via the logo.
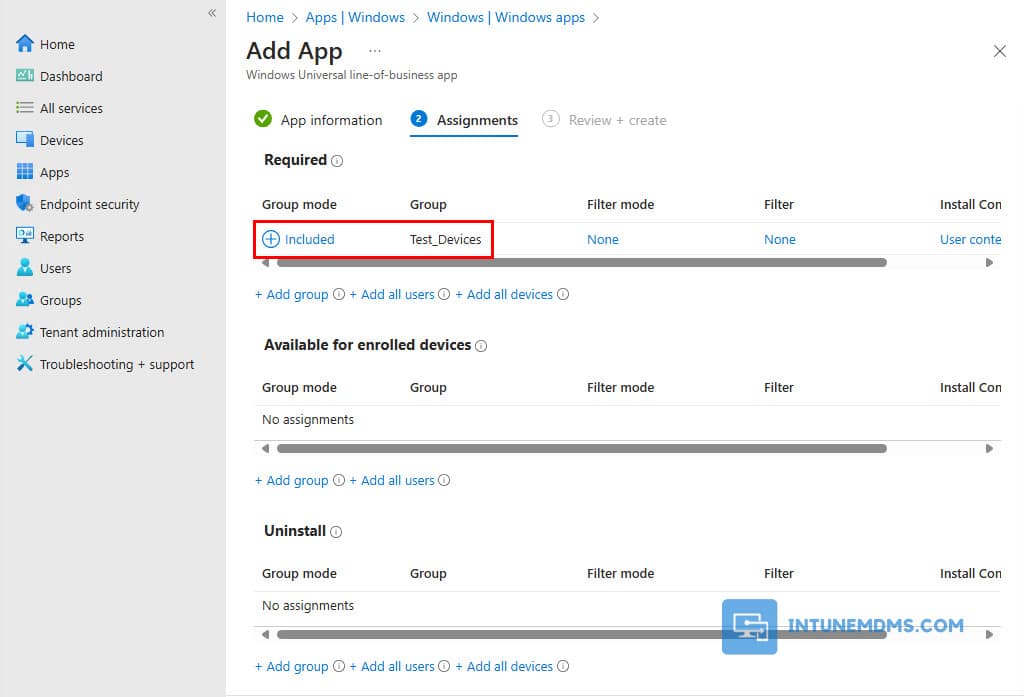
8. On the Assignments tab, you can select the Required, Available for enrolled devices, or Uninstall group assignments for the app. The options are explained below:
Required: The Win32 app is installed on devices in the selected groups.
Available for enrolled devices: Users install the Win32 app from the company portal app.
Uninstall: The Win32 app is uninstalled from devices in the selected groups.
Note: It is recommended to test the Intune app deployments on a small subset of devices before rolling them out to the entire organization. This ensures the deployment process works as expected and helps identify and resolve any potential issues before a full-scale rollout.
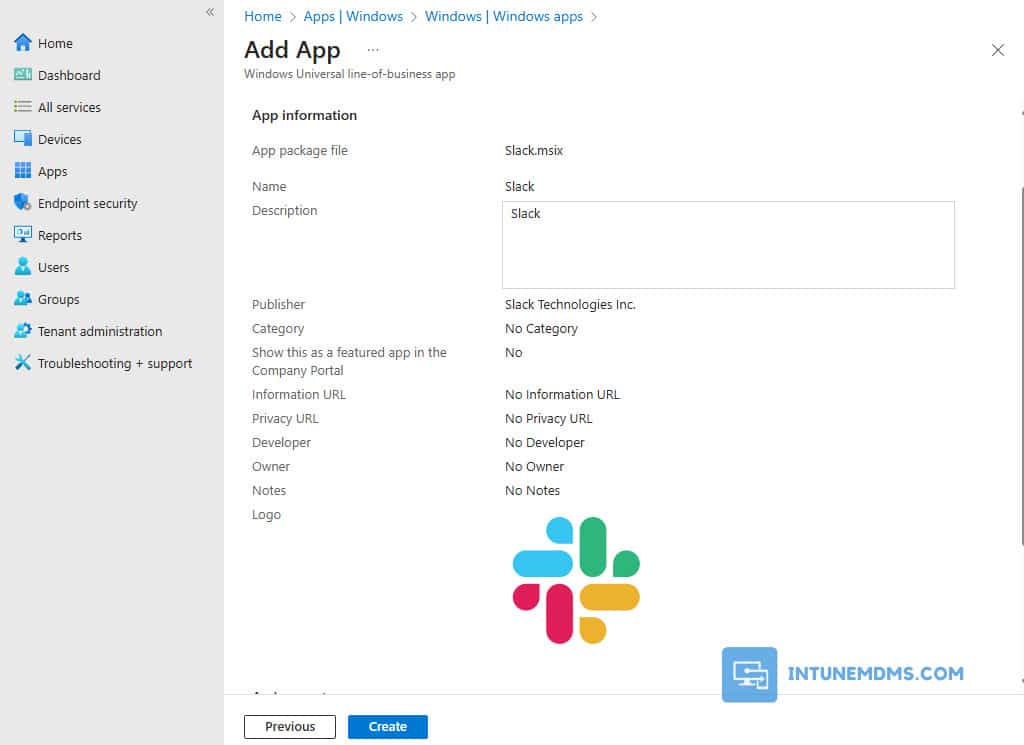
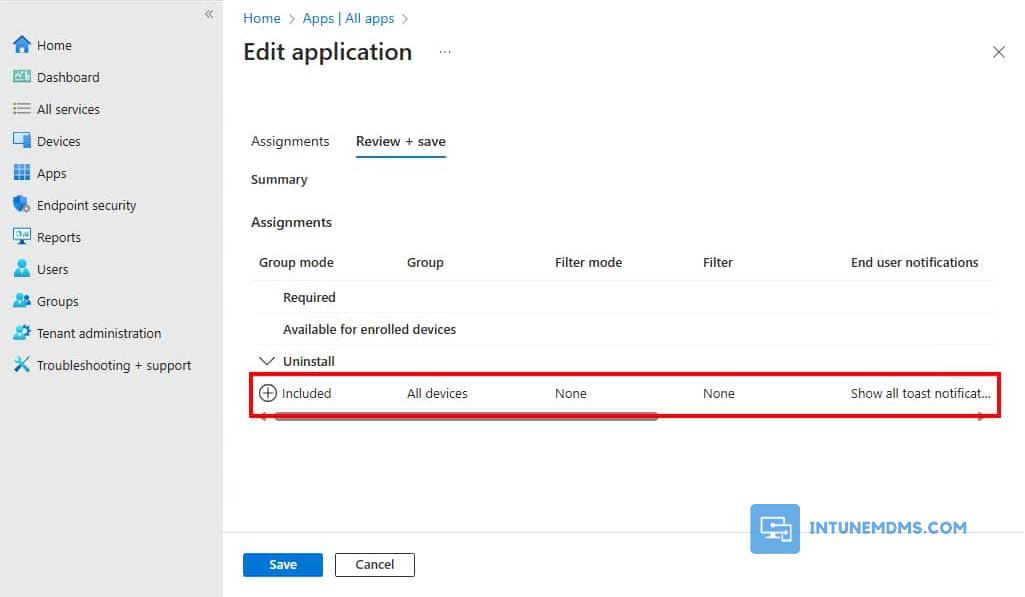
9. On the Review + Create tab, go through the values and settings that you entered for the app. Verify that you configured the app information correctly. Select Create to add the app to Intune.
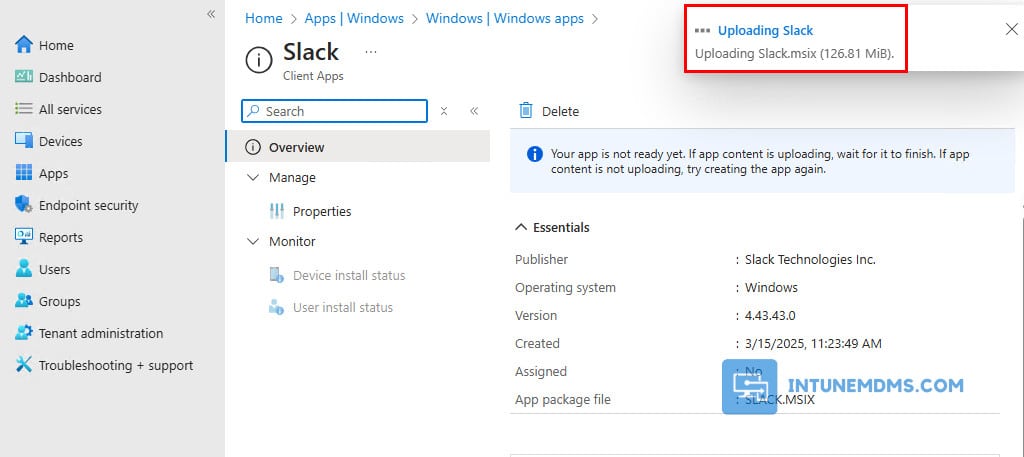
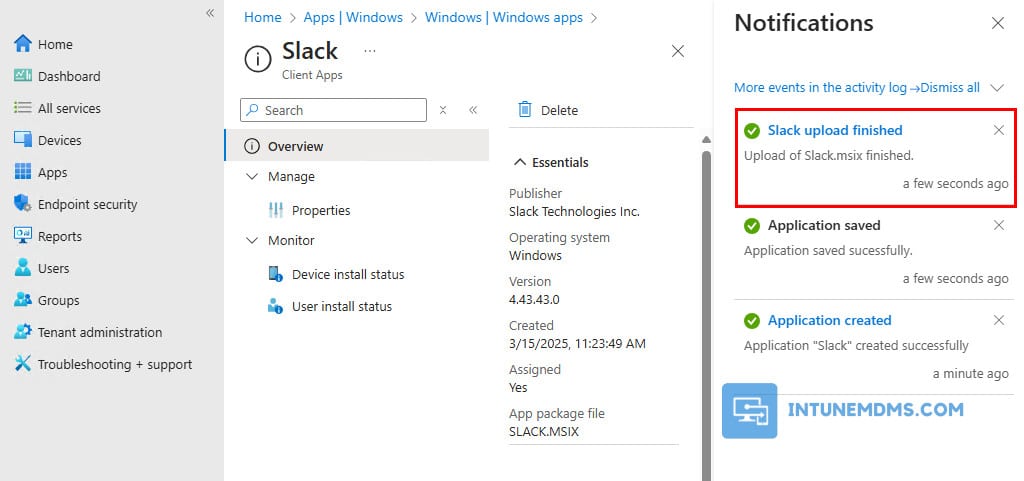
10. In the top-right corner of the Intune portal, you will see a notification that the application is being uploaded. If app content is uploading, wait for it to finish.
11. After a few minutes, you will see that the app upload has finished and the deployment is ready. The application has been targeted to the devices.
Tracking the app deployment in Microsoft Intune
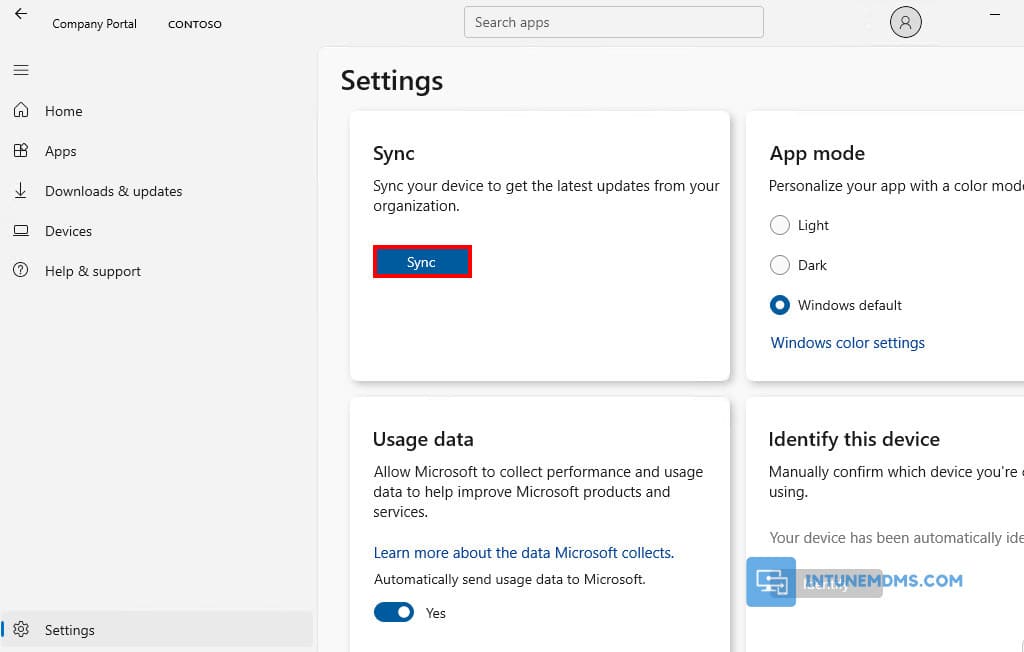
The device check-in process may not begin immediately. If you’re testing this policy on a test device, you can manually initiate an Intune sync by using Windows Settings, PowerShell, or the Company Portal app directly on the device. Additionally, restarting the device can also trigger the Intune device check-in process, ensuring policies and configurations are refreshed.
1. For example, I will manually sync the policy using the Company Portal app.
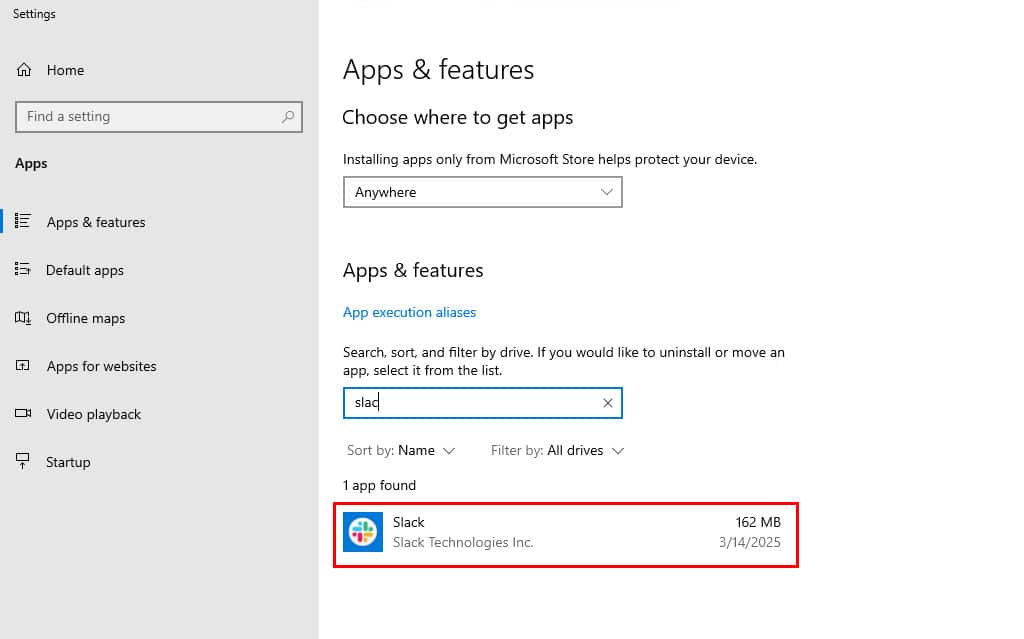
2. On a managed device, you can verify if the app was installed successfully by checking the list of installed applications on the device. The app should appear in the list, confirming that the deployment was completed.
When deploying applications with Intune, you can monitor the deployment status and track installation progress in real time. Intune provides comprehensive reports and logs, enabling you to troubleshoot any issues that may arise during deployment and ensure the app is installed successfully.
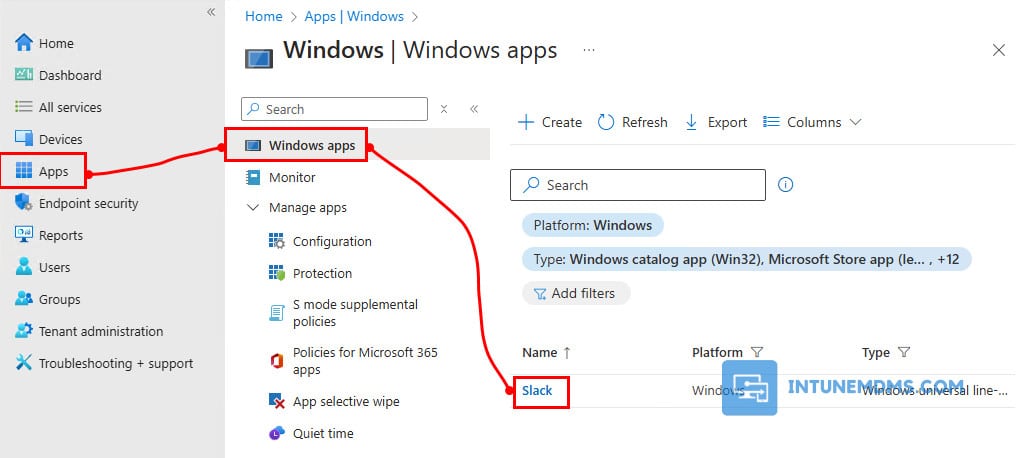
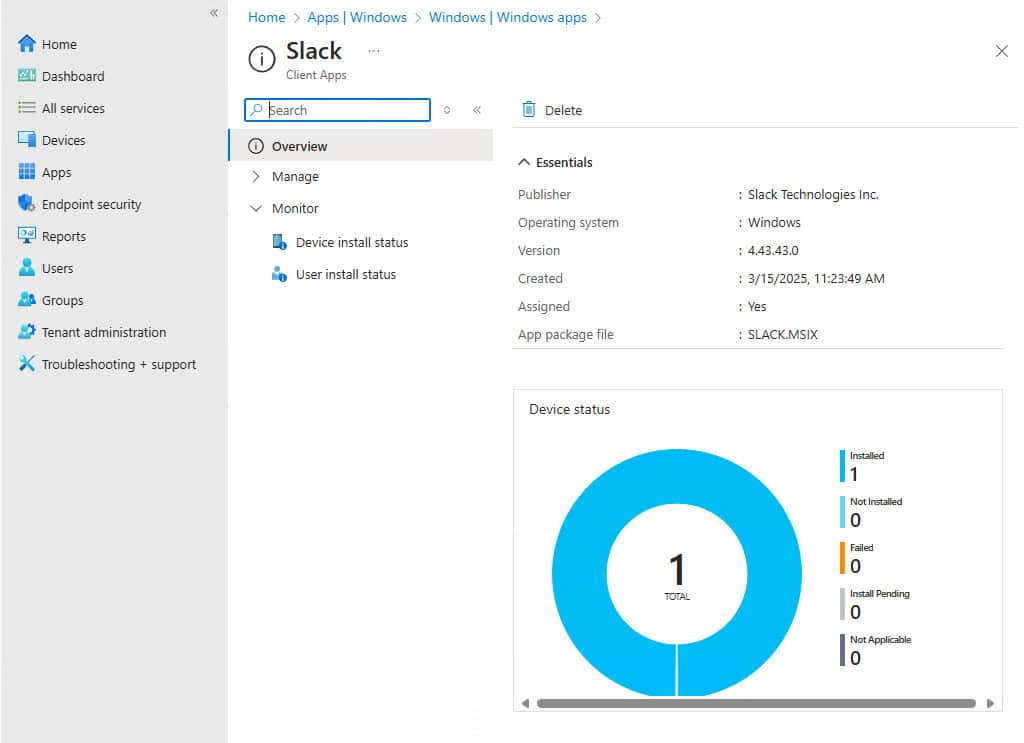
3. To check the app deployment status within the Microsoft Intune portal, go to the Apps section and select the app from the list.
4. The Overview page provides a graphical breakdown, including devices with successful installations, devices still installing, and any errors encountered.
Note: The deployment status may take some time to update in the Intune Admin Center, so be patient.
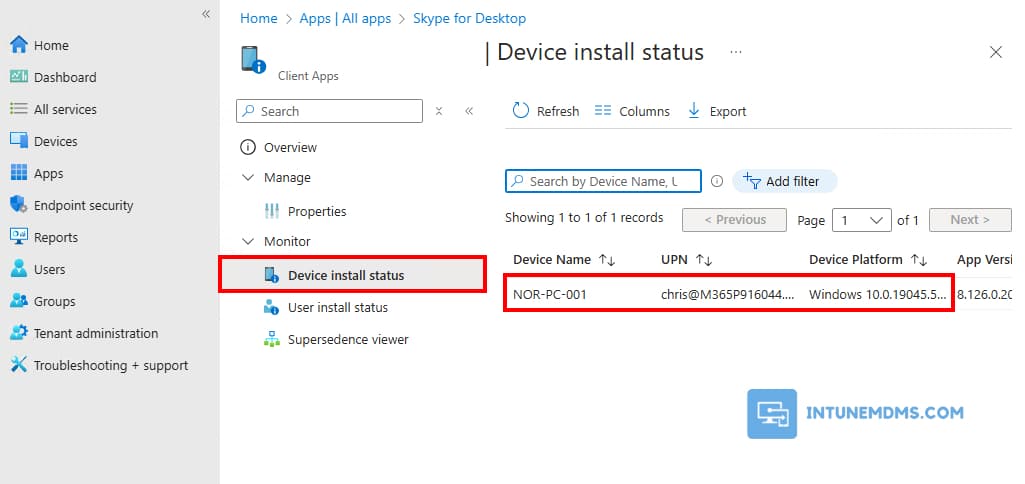
4. Click on Device install status or User install status, we will be able to see list of devices or users with installation status shown.
After the deployment is successfully completed, you noticed that the installer does not create a desktop shortcut for the app. If you wish to create a desktop shortcut for Slack using an additional Intune deployment, refer to the post: Create Desktop Shortcuts in Intune.
Uninstall Dropbox using Microsoft Intune
Anytime, if the app is no longer needed. You can uninstall it using Intune automatically.
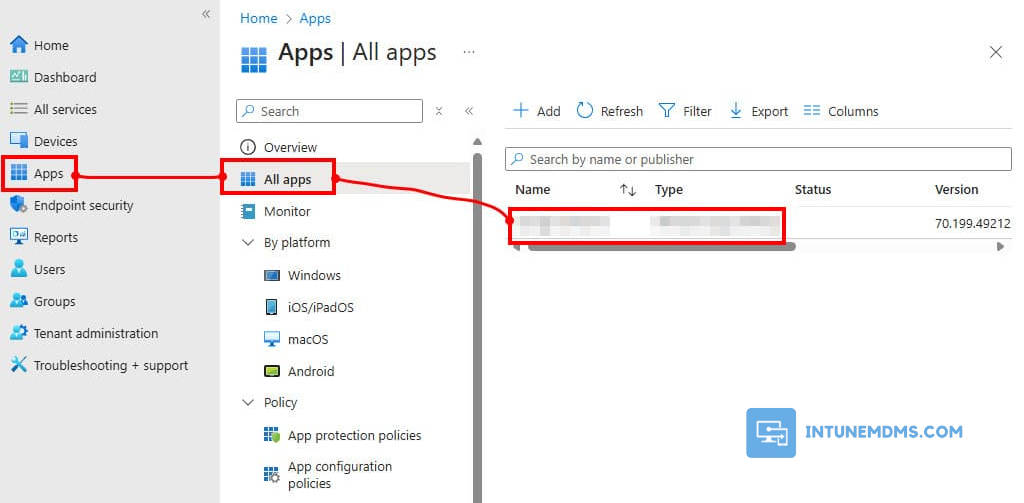
1. Log in to the Intune admin center, then navigate to Apps → All apps then select the app you want to remove from Intune remotely.
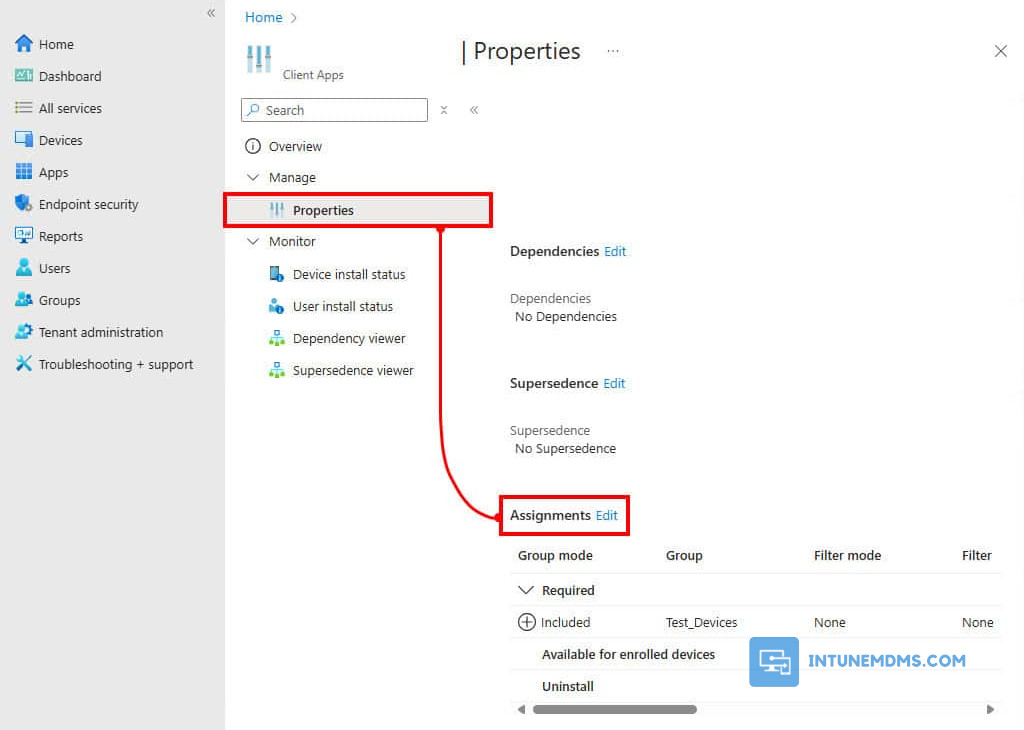
2. Go to Properties → Click on Edit next to Assignments
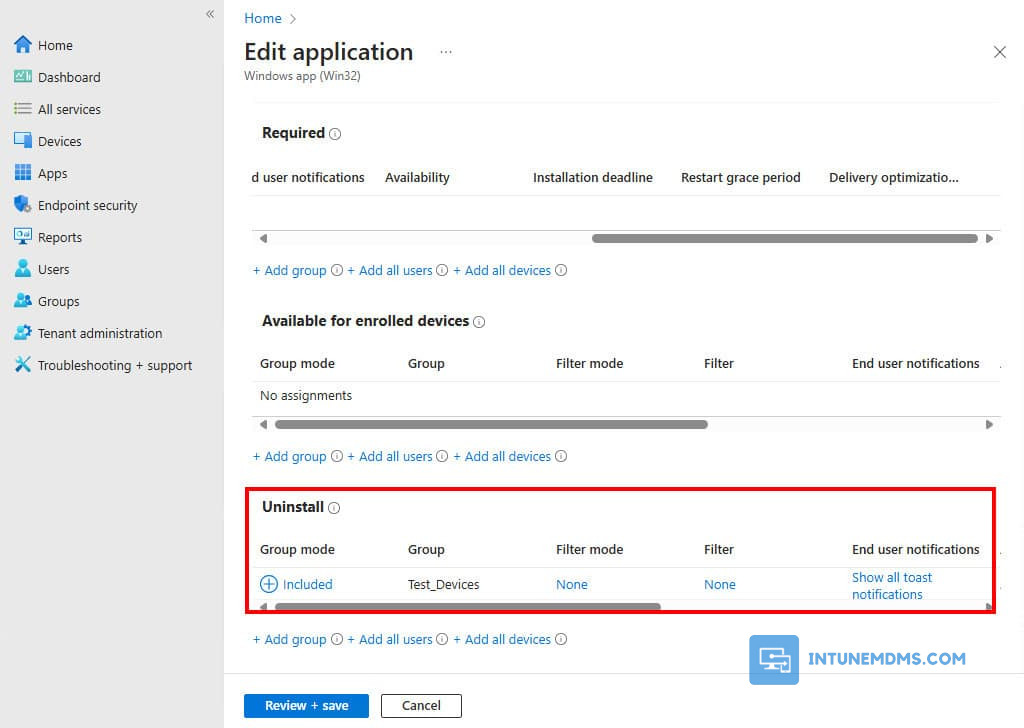
3. To uninstall the application, add a group in the Uninstall section. Ensure that the same user or device is not a part of the group which has been added to the Required section. For demo purpose, I’ve removed the test group from the Required section and add it into the Uninstall section.
4. Wait for the next Intune device check-in, or sync it manually to automatically remove the app.